Today we’re going to talk about my vacation. I got a week off and it was beautiful. Now in April in Minnesota you can get anything as a matter of fact as I write this it’s the last day of April in 2017 and there is a Winter storm watch for Northern and Central Minnesota. Nothing like that happened on my days off though. It was a beautiful time and I got a lot of stuff done.
I put a sub-floor in, a laminate floor on top of that, painted and finished the walls, and built a counter top which I sunk my homemade sink into. There’s a blog about that sink here. All of this got done in a week.
Before you tell yourself that I must have all of this experience doing this sort of thing let me assure you that I don’t. I don’t know my ass from my elbow when it comes to construction and constructing things. I did however make it a goal to learn as much as I could about it while doing fun stuff in life. Hence the van. The sub-floor that I built, and I’m sure that I did it wrong, was made with plywood cut to the shape (more or less) that the floor of the van was in. I did put this sticky stuff that I bought at Lowe's which I forget the name of. It’s suppose to keep heat out and take the noise down. It was a lot cheaper then that name brand stuff.
Now I saw pictures of people doing floors like this and they had this special tape they put on the boards to make the pieces hold together better. Eh, I used duct tape.
****shrugs shoulders and makes a funny face****
I don’t know if it’ll work. I just did it. Afterword I got to thinking. I probably should have made sure that the floor was level which is something to remember for next time.
Then I started putting the laminate flooring in. Now everyone will tell you it’s super easy. They’re lying; however, having said that I will also say I’ve done harder things. Think post hole digging in August then think a lot of post hole digging in August and you’ll be on the right track.
Okay the laminate wasn’t super hard, but it had challenging parts. I think if someone does it a few times they will get it quickly or if someone has a nice square area to put it in you’ll be fine. A Chevy Express 1500 is known as a curvy lady. She is not square anywhere.
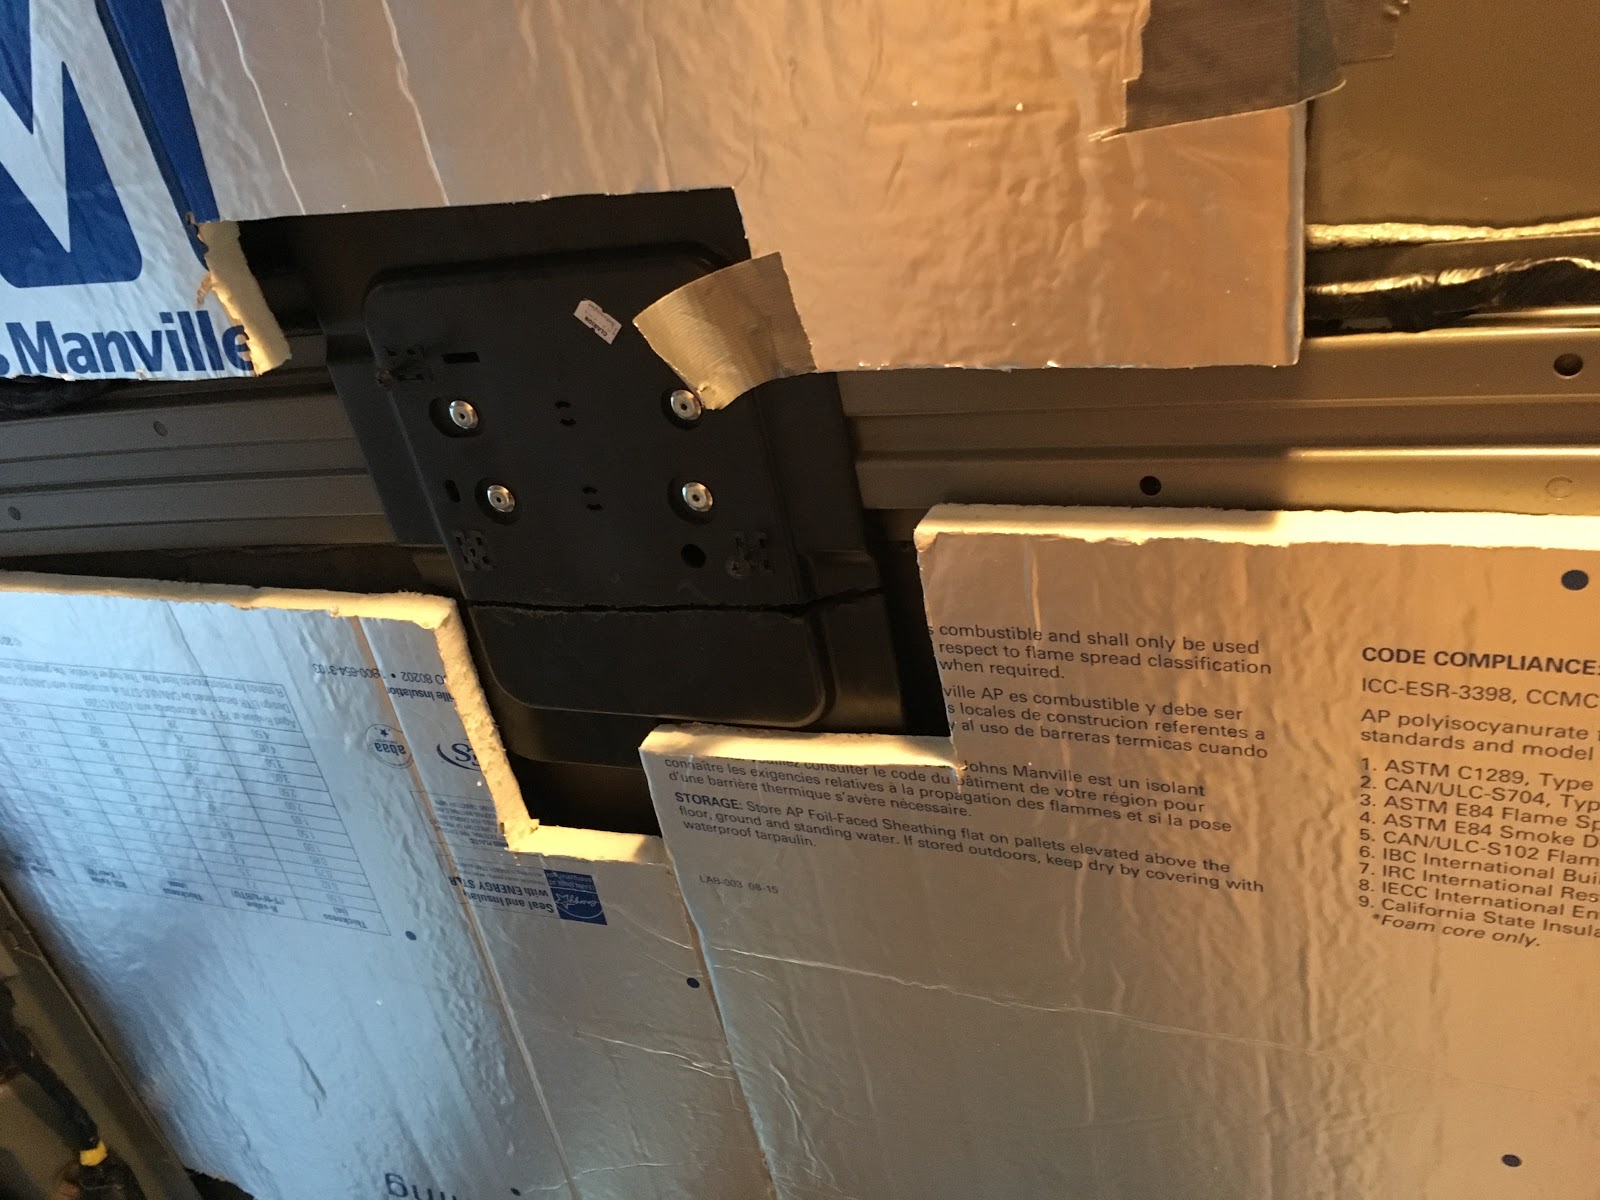
Elissa, and I also finished with insulating, priming, and painting
the walls as well. We found the primer and the paint in the basement. We used them when we painted the house a couple of years ago. We have the same green on our windows and edging.
The counter-top was relatively easy. It had it’s tough moments, and I’m sure would have been screwed up without the help of my neighbor who asked me if I was going to be using a guide when I sawed the board. I had no idea what that was so he showed me. Then he changed the blade on the circular saw I got at a pawn shop. Imagine my surprise when I realized that cutting the wood could be easy and not have burn marks with the new blade.
I built the legs for the counter from what I figured they needed to be to hold the top, and I was right. I got the shape, the support, the size everything right.
Next came the hard part. I had to drill the holes which would become the cut out for the sink. I measured like three or four times. This wood was my baby. I had sanded it, and preened it with mineral oil I didn’t want it screwed up with one miss measured hole. Eventually I got it drilled, and cut out but I had to keep cutting and slowly widen the hole for the sink. I did it slow and took my time so that it would work well. Elissa was right there helping with her eye’s as well. As you will see in the video it turned out terrific.
Now the next steps are to start building the bed and begin putting the ceiling together. Keep tuning in to see how this goes.
Thanks
Trevor