Components that I will be using for my van build electrical system.
Today we're going to go through the parts which I will be using for the electrical system on my camper van. Now, this isn't a 'how to' blog. Nope, it's only a small outline of what I will be using for my own build.
We’re going to start with the way I will be charging my battery, because that’s the front of the van and it seems like a terrific place to begin. I have decided to charge my battery bank (all one battery of it) two ways. One is through the alternator and the other is via solar power. Now as of the writing of this blog post I don’t have any solar so we will just be doing the alternator for the time being. The alternator charges the starting battery, the one which starts your vehicle. It is possible to split that charge and allow it (the alternator) to charge a second battery. This is what we will be doing. There are many ways to do this, but I am choosing to use a constant duty solenoid. 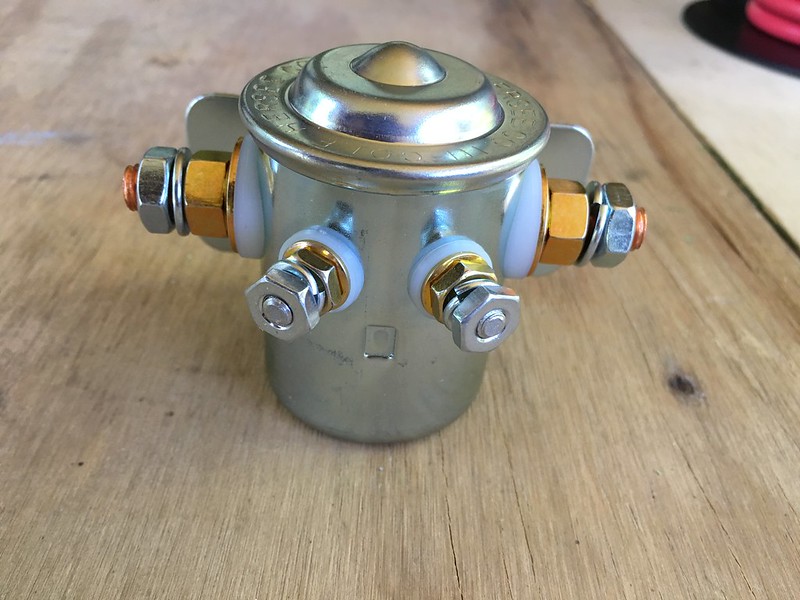
It is an electromagnetic switch which is turned on via a ‘keyed fuse thing’. Essentially you connect it to the starting battery and the house battery then connect it to the main fuse box. Making sure that the fuse you’re using only turns on when the key turns the car on. That way the two batteries are not connected when the car is off. They are only connected when the car is on.
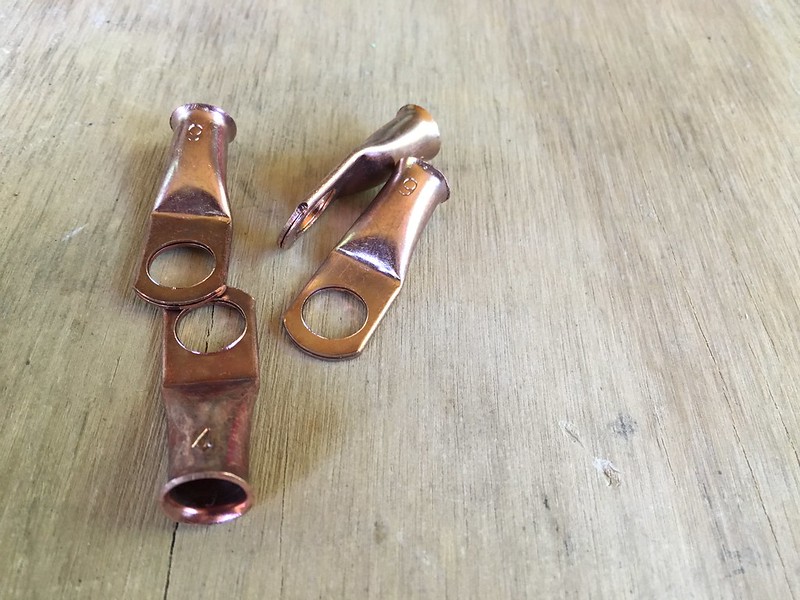
The wire you use to connect the two batteries is huge. Mine is 2 gauge wire as you see in the photo. 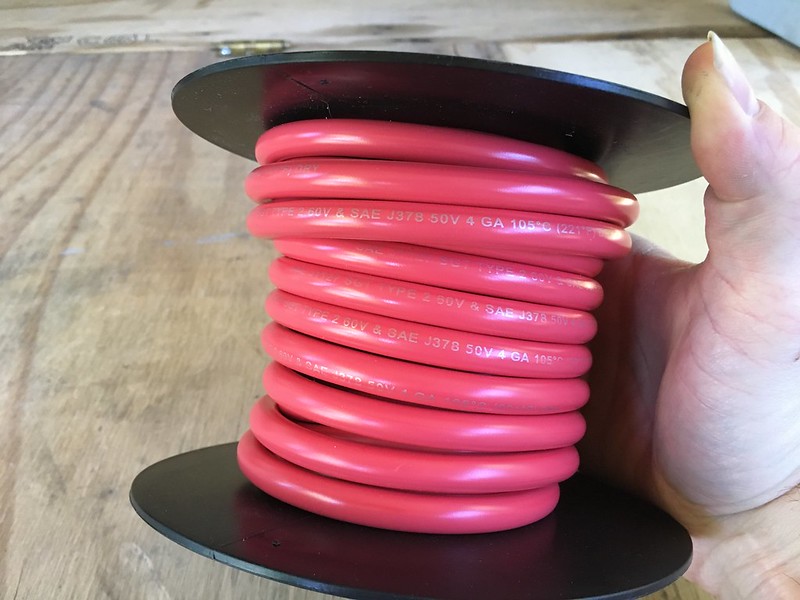 These are the connectors which will be squished onto the ends of the wire.
You’re also going to need a really big fuse for that part. This fuse will go under the hood, but as of the this moment I’m not entirely sure where. I think it goes after the solenoid and before the house battery. .
These are the connectors which will be squished onto the ends of the wire. You’re also going to need a really big fuse for that part. This fuse will go under the hood, but as of the this moment I’m not entirely sure where. I think it goes after the solenoid and before the house battery. .
I’m choose to put a nice giant red on/off switch to the whole system. Here is my switch. It sure is a fancy red color isn’t it? 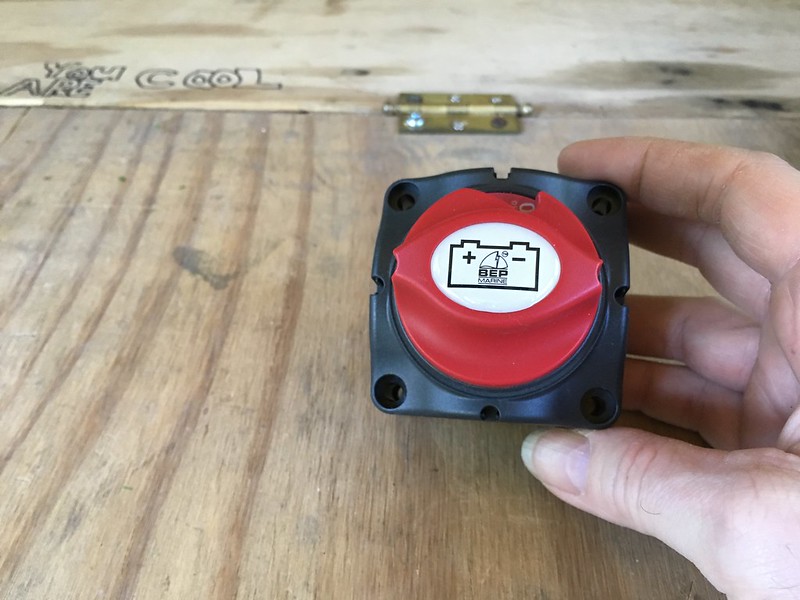 Now we will put another one of those giant fuses. See previous photo somewhere back there. That leads to a 500 watt inverter.
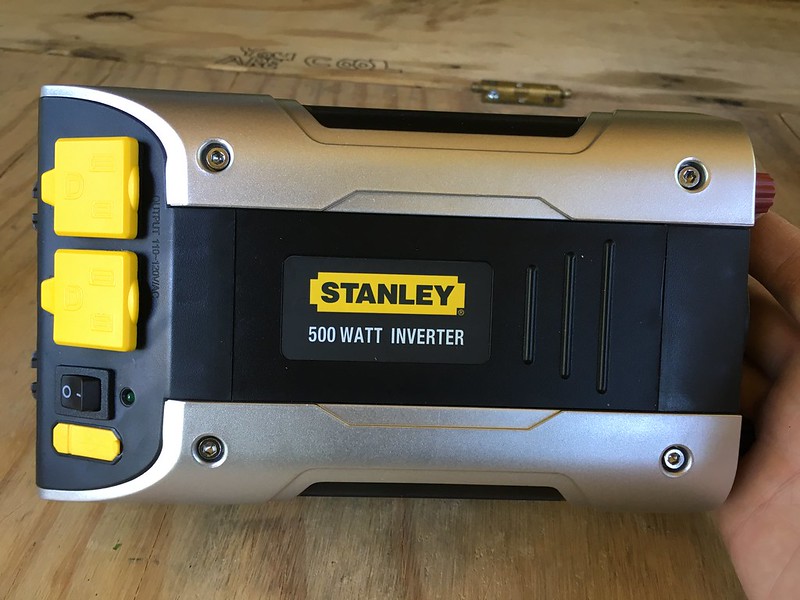
Now many boondockers will be using way way bigger ones, but we are not full time and will not be bringing fridges and things. It’s going to be there as sort of a just in case. I mean the minute you don’t think you need something is the minute you need it, so here it is. .
Now we will put another one of those giant fuses. See previous photo somewhere back there. That leads to a 500 watt inverter. Now many boondockers will be using way way bigger ones, but we are not full time and will not be bringing fridges and things. It’s going to be there as sort of a just in case. I mean the minute you don’t think you need something is the minute you need it, so here it is. .
Here is the little dc fuse box, and fuses I will be using for the LED lights and the charging stations. 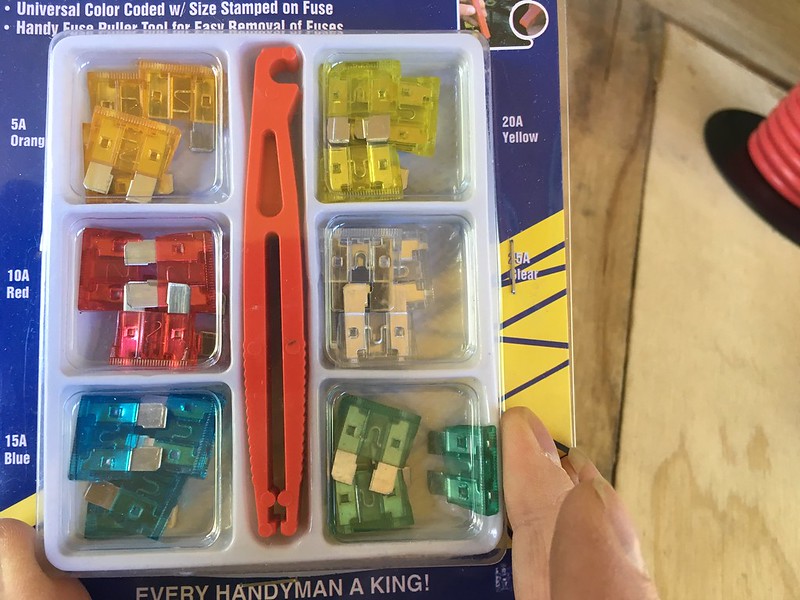
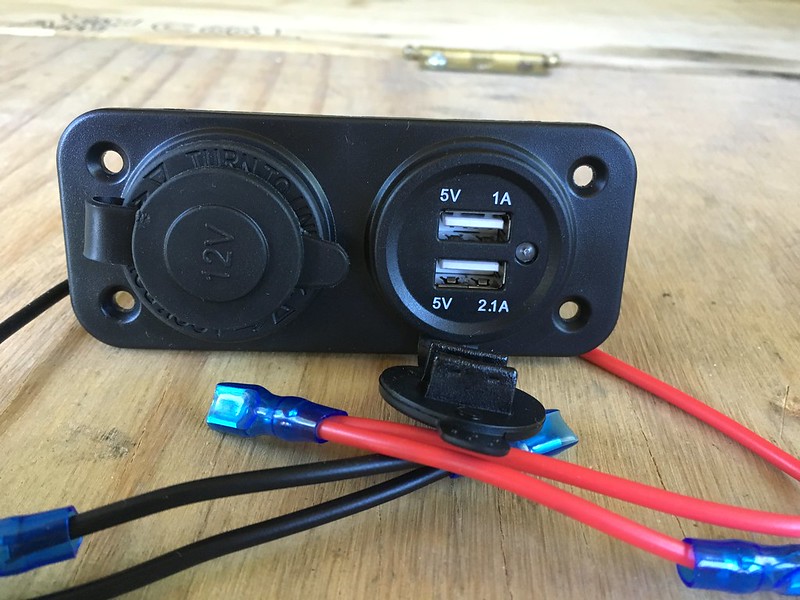
Here are the charging stations and a switch for the smaller of the two. 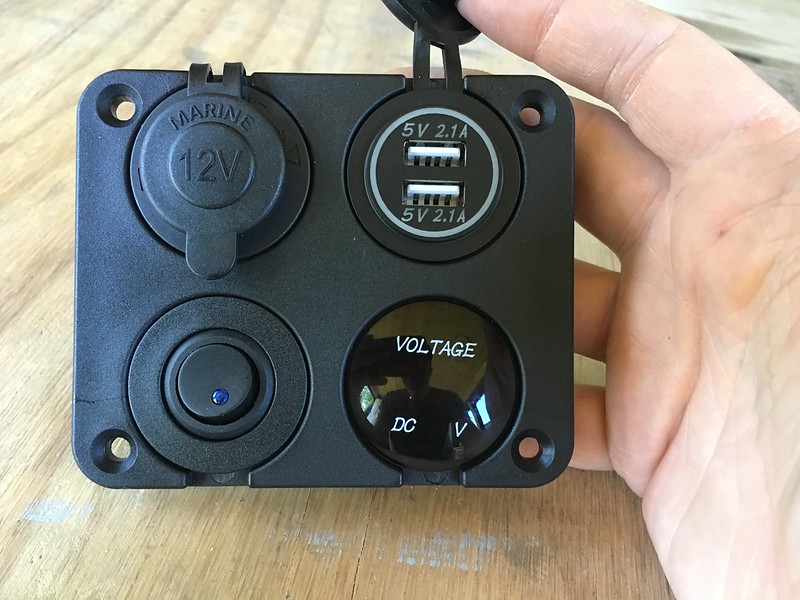
I’m going to wire the switch in because I noticed when I tried it before that the little blue light stays on all the time. I don’t like that. I want to be able to switch it off when it's not in use. 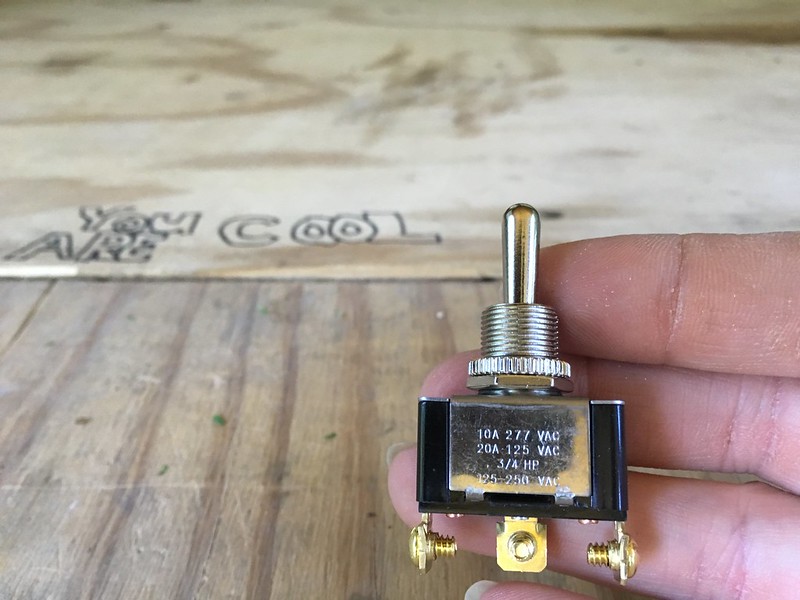
That’s it really. We have a small system because we don’t have many needs really. We are not full timers. We will be doing this part time till we retire and then we’ll see what happens. For the moment this will do.
Oh and here is the last piece to our electric puzzle although it’s not really electric. It’s just fun. 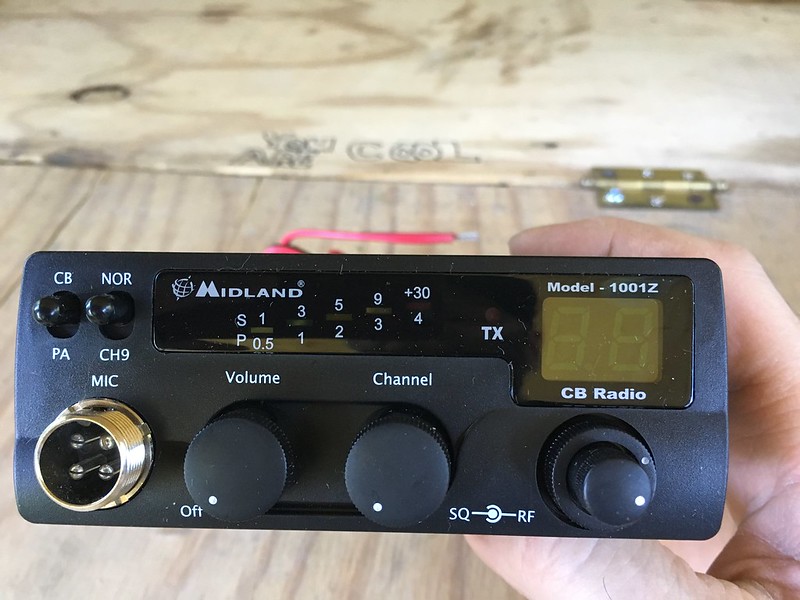
A CB.
Yup, because well….why not.
Have a great day gang and keep the shiny side up.
No comments:
Post a Comment